
Restaurant-Quality Chicken Tenderness Planner
Step 1: Define Your Cut & Method
Your Optimized Plan
Select options and click "Generate" to see your step-by-step guide.
You order a chicken breast at your local bistro. It arrives hot, juicy, and so tender you barely need to chew. Then you go home, cook a similar piece from the supermarket, and end up with something that feels like chewing on a rubber eraser. What gives? Is it magic? Is their chef using secret spices? Or is there a specific restaurant cooking secret involved?
The truth is simpler than you might think. It’s not about expensive equipment or rare ingredients. It’s about science and specific preparation steps that most home cooks skip. This guide breaks down exactly how professional kitchens achieve that melt-in-your-mouth texture, so you can replicate it in your own kitchen without needing a culinary degree.
It Starts With the Cut (And the Grade)
Before we talk about cooking methods, let’s look at what lands on the pan. Not all chicken breasts are created equal. In Australia, as elsewhere, commercial poultry production prioritizes speed. Fast-growing birds often develop a condition called woody breast, where the muscle fibers become tough and stringy due to rapid growth. If you buy the cheapest pack at the discount grocer, you’re statistically more likely to get meat that resists tenderness no matter how carefully you cook it.
Restaurants often source from suppliers who control this variable better. They might use air-chilled chicken instead of water-chilled. Water-chilling involves dunking carcasses in chlorinated baths to cool them down quickly. This process adds weight (and cost) but also dilutes flavor and alters texture. Air-chilled birds take longer to cool, but the meat retains its natural integrity. When you shop, look for labels that say "air-chilled" or check if the package lists added water or salt solutions. If the ingredient list says "chicken," you’re good. If it says "chicken, water, salt, sodium phosphate," you’re buying a sponge.
The Magic Trick: Velveting
If you’ve ever eaten stir-fry at a Chinese restaurant, you know the chicken is impossibly soft. That’s because they use a technique called velveting. This isn’t just marinating; it’s a protective coating process. The goal is to shield the delicate protein fibers from the harsh heat of the wok or oven until the very last second.
Here is how traditional velveting works. You slice the chicken thinly against the grain. Then, you mix it with egg white and cornstarch. Sometimes baking soda is added for extra punch. The mixture sits for 15-30 minutes. Before cooking, the chicken is briefly blanched in oil or water. This pre-cooks the outside slightly and seals in moisture. When it finally hits the high heat, the starch layer protects the inside from drying out.
| Ingredient | Role | Amount per 500g Chicken |
|---|---|---|
| Egg White | Binds starch to meat, adds silkiness | 1 large egg white |
| Cornstarch | Creates a barrier against heat, thickens juices | 1 tablespoon |
| Baking Soda | Alters pH to break down proteins (use sparingly) | 1 teaspoon (rinse off after 15 mins) |
| Rice Wine/Soy Sauce | Flavor penetration during resting | 1 tablespoon |
You don’t need a wok to velvet chicken. You can do it for baked dishes too. Coat your cutlets in this slurry before putting them in the oven. The result is significantly juicier than plain seasoned meat.
Brining: The Salt Solution
If velveting is for stir-fries, brining is the king of roasting and grilling. A brine is simply a solution of salt and water. But why does soaking chicken in salty water make it tender? It’s osmosis and protein denaturation.
When chicken sits in a brine, the salt ions penetrate the muscle cells. This causes the protein strands to unwind and relax. More importantly, these unwound proteins bind with water molecules. So, when you cook the chicken, some of that water evaporates, but much of it stays trapped within the reformed protein network. A non-brined breast loses 20-30% of its moisture during cooking. A brined one might only lose 10-15%. That difference is the gap between dry and delicious.
For best results, use a ratio of 1/4 cup kosher salt per 4 cups of cold water. Add sugar and aromatics like garlic or thyme if you want flavor depth. Submerge the breasts completely. Let them sit in the fridge for at least one hour, but no more than four. Over-brining turns the meat mushy and overly salty. After brining, pat the chicken dry thoroughly. Wet chicken steams; dry chicken sears.
Temperature Control Is Non-Negotiable
Most home cooks overcook chicken. We were taught to fear salmonella, so we keep cooking until the meat is white all the way through. But chicken breast is lean. Once it passes 74°C (165°F), the proteins squeeze tight, expelling every drop of juice. By 80°C, it’s shoe leather.
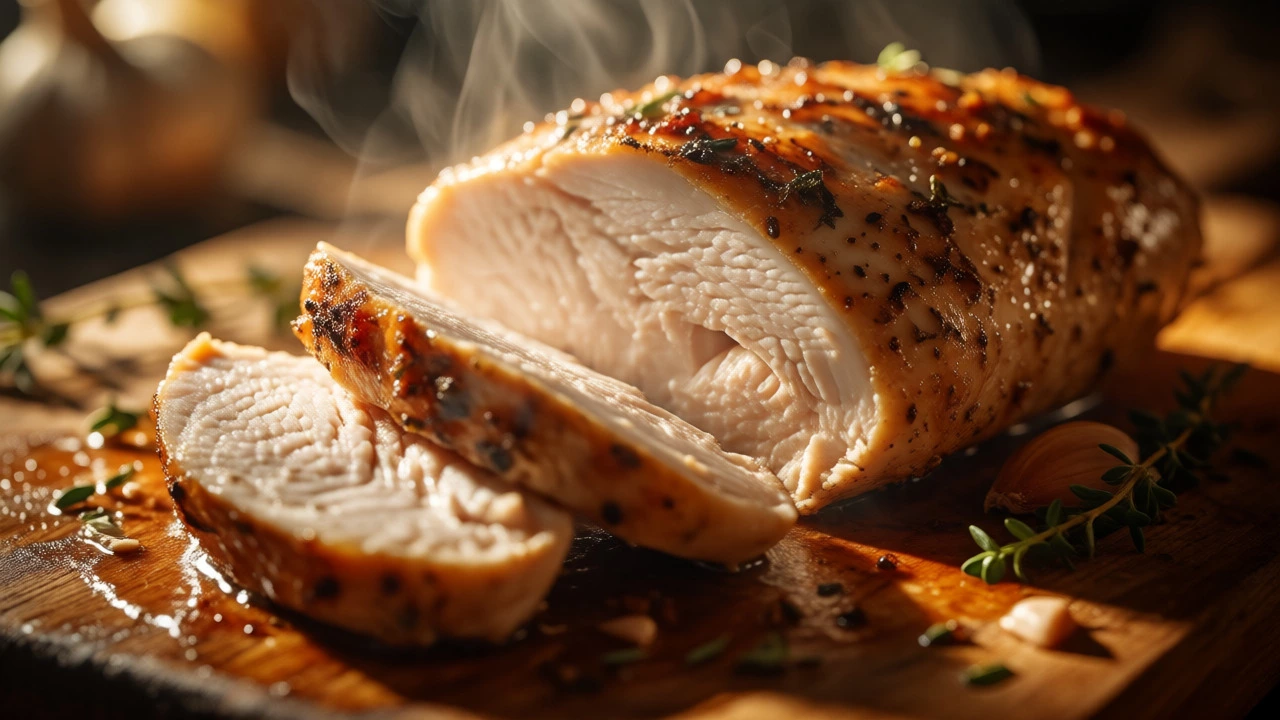
Restaurants rely heavily on instant-read thermometers. They pull the chicken off the heat when it hits 71°C (160°F). During the resting phase, carryover cooking raises the internal temperature by another 3-5 degrees. This brings it safely to the recommended 74°C while keeping the center perfectly pinkish-white and juicy.
If you don’t have a thermometer, use the touch test. Press the thickest part of the breast. Raw chicken feels squishy and loose. Cooked chicken should feel firm but springy, like the fleshy part of your palm when you touch your thumb to your middle finger. If it feels hard like your forehead, you’ve gone too far.
Pounding for Even Cooking
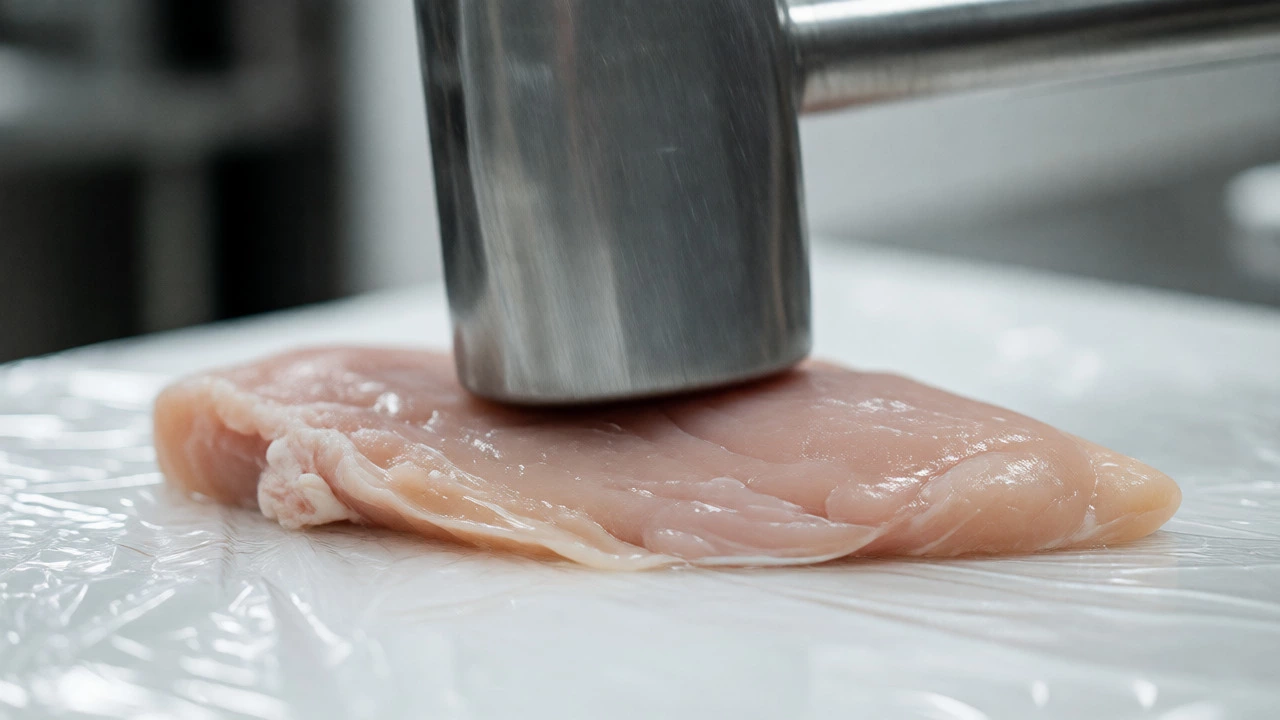
Chicken breasts are naturally uneven. One end is thick and round; the other is thin and wispy. When you throw this shape into a hot pan, the thin end dries out long before the thick end is safe to eat. To fix this, pound the breast to an even thickness.
Place the breast between two sheets of plastic wrap. Use a meat mallet or the bottom of a heavy pan. Start from the center and work outward. Aim for an even 1.5cm thickness. This ensures that every bite cooks at the same rate. You can cook it faster, which means less time for moisture to escape. Plus, thinner pieces brown better, adding flavor through the Maillard reaction.
Resting: The Step Everyone Skips
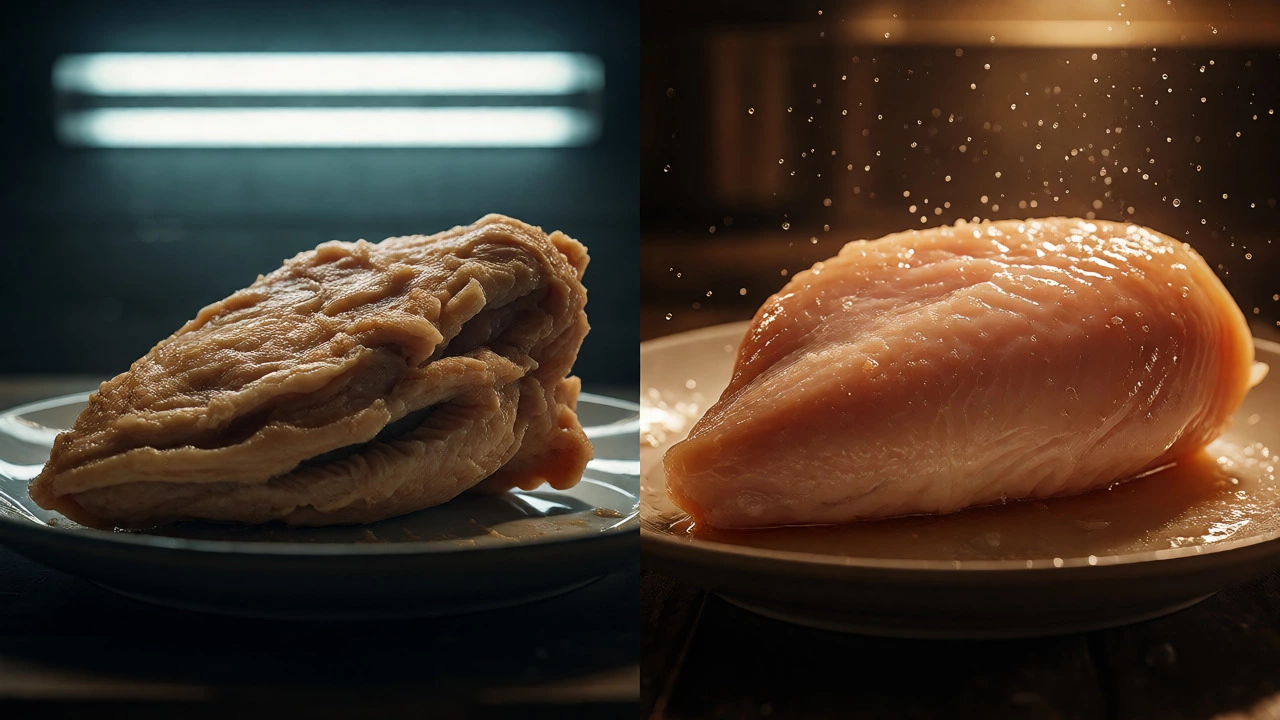
You take the chicken out of the oven. It looks perfect. You slice it immediately. Juice floods the cutting board. Your mouth waters, but the first bite is dry. Why?
During cooking, the heat pushes the juices toward the center of the meat. If you cut it right away, those juices run out onto the plate. Resting allows the proteins to relax again. As the meat cools slightly, the juices redistribute evenly throughout the breast. Let your chicken rest for at least five minutes under loose foil. Ten is better. It feels like forever when you’re hungry, but it’s worth it.
Quick Reference: Home vs. Restaurant Methods
| Technique | Best For | Time Required | Key Benefit |
|---|---|---|---|
| Brining | Roasting, Grilling | 1-4 hours prep | Maximum moisture retention |
| Velveting | Stir-fry, Baked strips | 20 mins prep | Silky, soft texture |
| Pounding | Pan-searing, Schnitzel | 5 mins prep | Even cooking, faster time |
| Thermometer Use | All methods | Instant | Prevents overcooking |
Frequently Asked Questions
Do I really need to brine my chicken?
You don't strictly *need* to, but it makes a massive difference for lean cuts like breast meat. If you are short on time, a quick 30-minute brine with a higher salt concentration can still help. However, if you use a reliable thermometer and don't overcook, you can skip brining. Brining acts as insurance against dryness.
What is the difference between wet brine and dry brine?
Wet brining involves submerging chicken in saltwater. Dry brining involves rubbing salt directly onto the skin/meat and letting it sit uncovered in the fridge. Dry brining draws out moisture, dissolves the salt, and then reabsorbs the seasoned liquid back into the meat. Many chefs prefer dry brining because it crisps the skin better and doesn't add excess water weight.
Can I use baking soda to tenderize chicken?
Yes, this is common in Chinese cooking. Baking soda raises the pH level of the meat surface, which prevents the proteins from bonding tightly when heated. This keeps the meat soft. However, you must rinse the chicken thoroughly after 15-20 minutes, or it will taste metallic and soapy. Use it sparingly-about half a teaspoon per 500g of meat.
Why is my slow cooker chicken dry?
Slow cookers are great for tough, fatty cuts like thighs or shanks that need long times to break down collagen. Breast meat has little fat and connective tissue. Long exposure to heat, even low heat, squeezes out moisture. For slow cookers, add chicken breast in the last hour of cooking, or switch to bone-in thighs for the best results.
Does marinating in yogurt tenderize chicken?
Yes. Yogurt contains lactic acid and calcium, which gently break down protein structures. Unlike vinegar-based marinades, which can turn meat mushy if left too long, yogurt is gentler. It also helps spices stick to the meat. Marinate in yogurt for 2-4 hours for Indian-style tandoori effects.