
Slow Cooker Conversion & Prep Guide
Planning a meal? Use this tool to convert standard cooking times to slow cooker settings and adjust liquids correctly.
Enter Your Recipe Details
Fill out the form on the left to see recommended slow cooker times and liquid adjustments.
Essential Slow Cooking Rules
Layering Logic
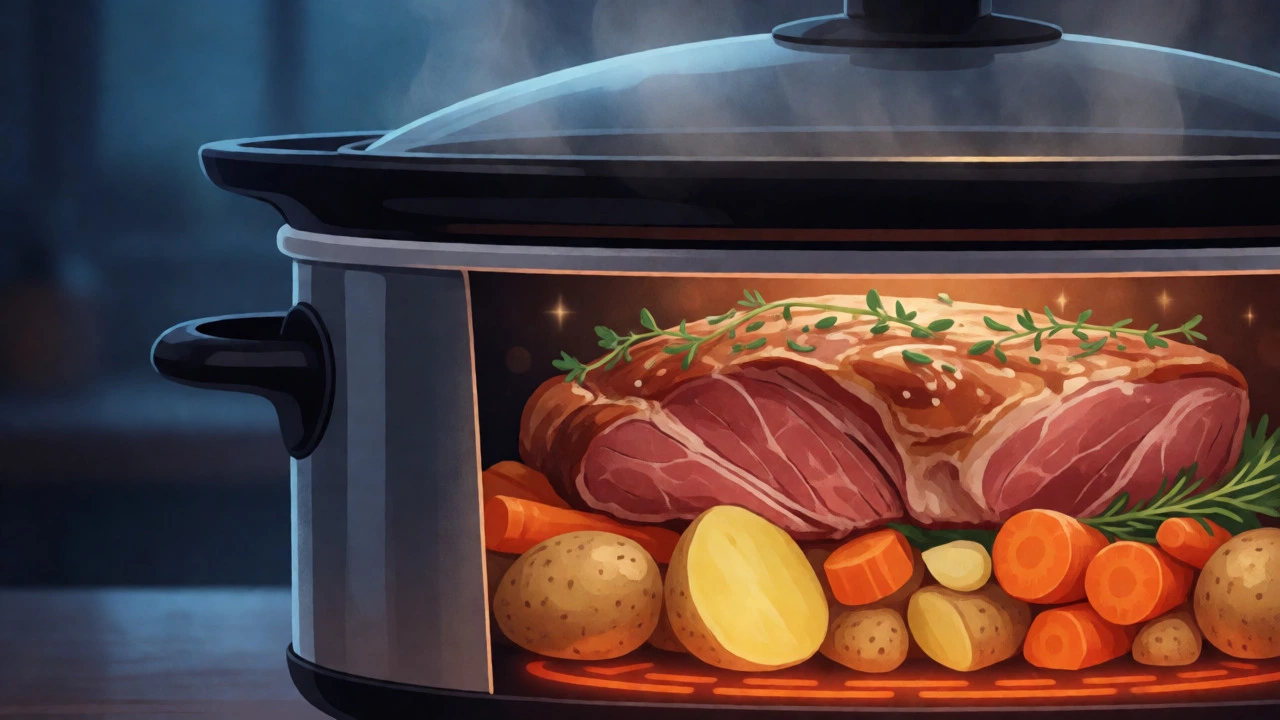
Place hard root vegetables (carrots, potatoes) at the bottom near the heat source. Add delicate items (dairy, fresh herbs, pasta) in the last hour or after cooking.
The "No Peek" Rule
Every time you lift the lid, you lose significant heat. This adds 15–20 minutes to the total cook time. Trust the timer.
Sear First
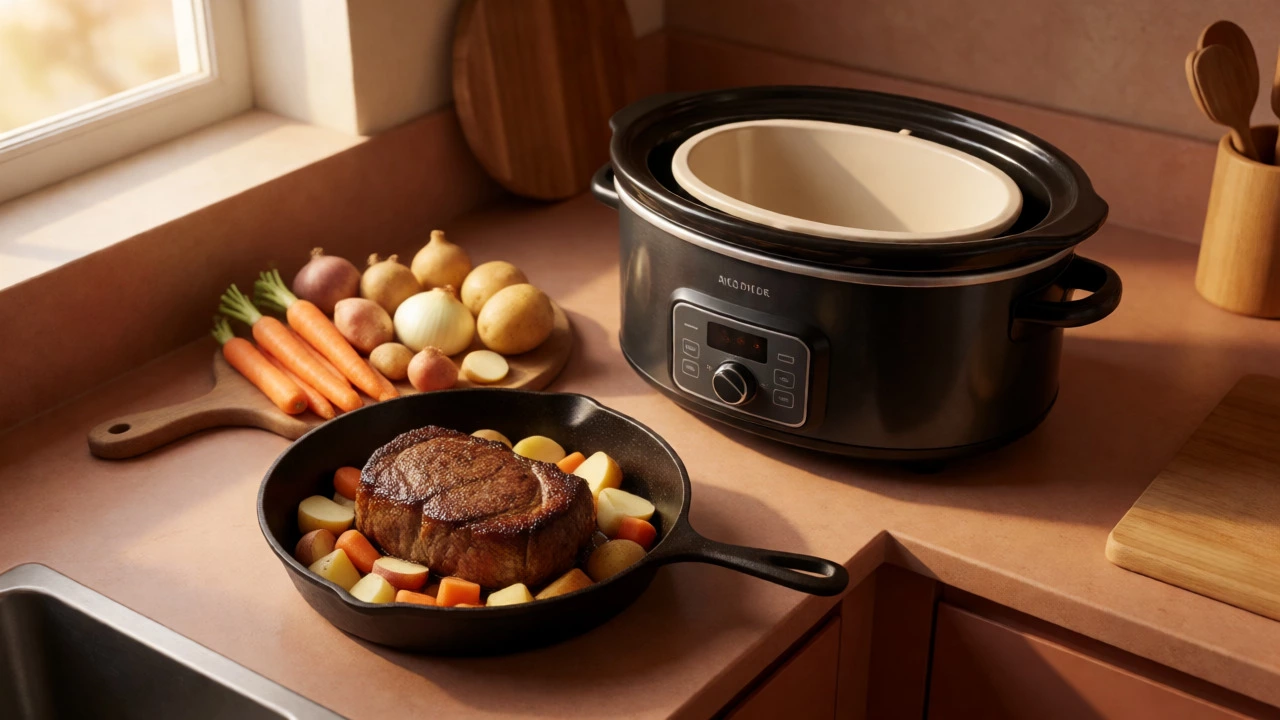
Wet heat doesn't brown food. Pan-sear meats until dark brown before adding them to the pot to create depth of flavor via the Maillard reaction.
You bought a slow cooker, or maybe it’s been sitting in the back of your cupboard since that one Black Friday sale. You want dinner ready when you walk in the door, but you’re terrified of ending up with mushy carrots or raw chicken. Here’s the truth: this appliance is not magic, but it is incredibly forgiving if you respect its limits.
The core problem beginners face isn’t usually the food-it’s the timing and moisture balance. If you treat a slow cooker like a standard oven or a stovetop pot, you’ll get disappointing results. This guide strips away the hype and gives you the concrete rules for turning tough cuts of meat and cheap vegetables into weeknight dinners without hovering over the stove.
Key Takeaways for Slow Cooking Success
- Layering matters: Hard root vegetables go on the bottom near the heat source; delicate items like dairy and pasta go in at the end.
- Liquid control: Unlike boiling, evaporation is minimal. Reduce added liquids by about one-third compared to standard recipes.
- Sear first: Browning meat before adding it to the pot adds depth of flavor that long cooking alone cannot create.
- Don’t peek: Every time you lift the lid, you lose significant heat and add 15-20 minutes to the cook time.
- Safety first: Frozen meats should generally be thawed before slow cooking to ensure they pass through the "danger zone" quickly.
Understanding Your Appliance: Crockpot vs. Instant Pot
Before you start throwing ingredients in, know what you’re working with. While people often use the terms interchangeably, a traditional crockpot is a simple ceramic vessel surrounded by heating elements. It cooks low and slow, typically taking 4 to 8 hours. An Instant Pot or multi-cooker uses pressurized steam to speed things up, finishing in under an hour.
This article focuses on the traditional slow cooker method because it requires different techniques. Pressure cooking forces liquid into food quickly; slow cooking breaks down collagen over time. If you have a modern digital model with a "keep warm" setting, remember that this setting is for holding temperature, not continuing to cook. Leaving food on "warm" for more than two hours can dry out proteins and make vegetables turn to paste.
The Golden Rules of Preparation
Prep work is where most beginners fail. They dump everything in cold from the fridge. Here is how to actually prepare your meal for optimal texture and safety.
Searing Meat Is Non-Negotiable
Why sear? Because wet heat doesn’t brown food. The Maillard reaction-that complex, savory flavor profile-only happens at high temperatures. If you throw a chuck steak straight into the pot, you get boiled beef. If you pan-sear it for three minutes per side until it’s dark brown, then transfer it to the slow cooker, you get rich, hearty stew. Use a cast-iron skillet or a stainless steel pan. Get it hot. Add the oil. Sear the meat. Deglaze the pan with a splash of broth or wine and pour those flavorful bits into the cooker too.
Vegetable Layering Logic
Your slow cooker heats from the sides and bottom. Therefore, the items closest to the heat need to be the hardest. Place dense root vegetables like potatoes, carrots, and onions at the very bottom. They act as a rack for the meat, preventing it from sticking and burning while allowing heat to circulate. Delicate vegetables like zucchini, bell peppers, or mushrooms should go on top or be added in the last hour. If you put spinach in for eight hours, it will disappear entirely.
Managing Liquids and Seasonings
This is the biggest adjustment for new users. In a regular pot, water evaporates. In a sealed slow cooker, condensation forms on the lid and drips back down. If you follow a standard soup recipe that calls for four cups of stock, you might only need two or three. Start with less liquid than you think you need. You can always add more broth during the last hour if the dish looks dry, but you can’t easily remove excess water once it’s there.
| Dish Type | Standard Recipe Liquid | Slow Cooker Adjustment |
|---|---|---|
| Stews & Soups | Covers ingredients fully | Reduce by 30-50% |
| Pulled Meats | 1 cup broth | ½ cup broth (meat releases juices) |
| Rice & Grains | 2:1 water-to-rice ratio | Use pre-cooked rice or reduce water significantly |
Seasoning also behaves differently. Salt penetrates slowly, so don’t be afraid to season generously at the start. However, dried herbs lose potency over long periods. Add robust herbs like rosemary, thyme, and bay leaves early. Save delicate fresh herbs like basil, cilantro, or parsley for the final ten minutes. Dairy products-milk, cream, sour cream-will curdle if cooked for hours. Stir them in just before serving.
Time Settings: Low vs. High
Most beginners ask, "Is Low better than High?" Not necessarily. They reach the same safe internal temperature eventually; the difference is speed. High setting brings food to simmering point in about 3-4 hours. Low setting takes 7-8 hours.
Use High if you are short on time or cooking lean meats that might dry out over a long period. Use Low for tougher cuts like brisket, pork shoulder, or short ribs. The longer time on Low allows connective tissue to melt into gelatin, creating that silky, tender texture we associate with great comfort food. If a recipe says "8 hours on Low," you can usually convert it to "4 hours on High," but check for tenderness earlier.
Food Safety and Temperature Checks
You can’t eyeball doneness in a slow cooker because the food stays submerged in liquid. Use a digital instant-read thermometer. Chicken needs to hit 165°F (74°C). Ground beef should reach 160°F (71°C). Pork and poultry can technically be safe at lower temps if held there for a specific time, but hitting these marks ensures peace of mind.
A common myth is that you can cook frozen chicken breasts directly in the pot. The USDA advises against this. Large frozen blocks keep the center in the bacterial danger zone (40°F-140°F) for too long while the outside cooks. Thaw your meat in the fridge overnight. If you must cook from frozen, slice the meat thinner and extend the cook time, but be aware the texture may suffer.
Troubleshooting Common Beginner Mistakes
If your first batch isn’t perfect, here’s why:
- Soggy Veggies: You likely added them too early. Next time, add carrots and potatoes in the last 2-3 hours if you prefer them firm, or accept that 8-hour cooking turns them soft.
- Bland Flavor: You probably didn’t sear the meat or used too much water. Concentrate the sauce by removing the lid for the last 30 minutes on High.
- Grainy Rice: Don’t cook uncooked white rice in the slow cooker for hours. It turns to glue. Cook rice separately on the stove and serve alongside, or use quick-cook grains like quinoa added in the last 45 minutes.
- Overcooked Pasta: Never add dry pasta at the beginning. It disintegrates. Boil pasta separately and mix it in right before eating.
Simple Starter Recipes to Build Confidence
Don’t start with a complex curry. Start with these foolproof combos.
The Classic Pulled Pork
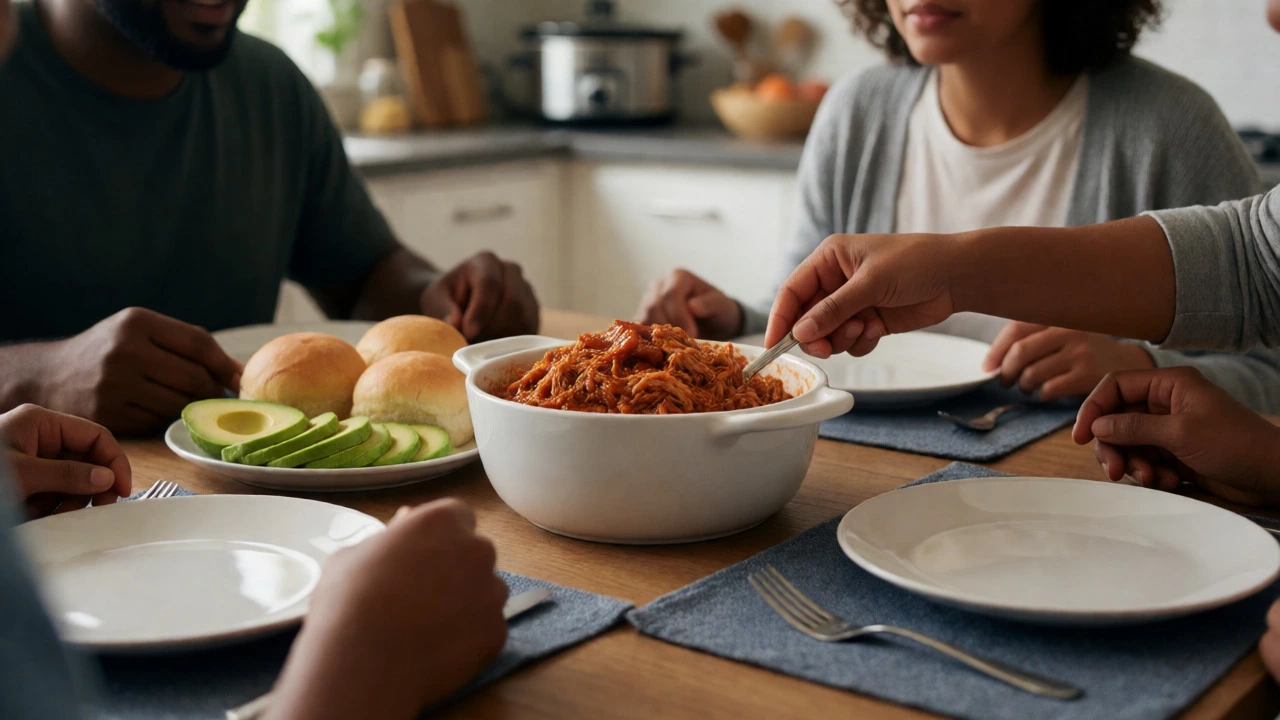
Buy a bone-in pork shoulder (also called Boston butt). Rub it with salt, pepper, paprika, and garlic powder. Sear it lightly. Place sliced onions at the bottom of the pot. Put the pork on top. Pour in ½ cup of apple cider vinegar and ½ cup of barbecue sauce. Cook on Low for 8 hours. Shred with two forks. Serve on buns. That’s it. No babysitting required.
Chicken Taco Filling
Place 1.5 lbs of chicken thighs (boneless, skinless) in the pot. Add a packet of taco seasoning, 1 cup of salsa, and ½ cup of black beans (drained). Add ¼ cup of water. Cook on Low for 6 hours. Shred the chicken. Top with cheese and avocado. This works perfectly for meal prep lunches throughout the week.
Frequently Asked Questions
Can I leave the slow cooker on all day?
Yes, provided the appliance is in good condition and placed on a heat-safe surface. Most modern slow cookers have automatic shut-off features. However, avoid leaving perishable foods in the "warm" setting for more than 2-4 hours after cooking is complete, as quality degrades and bacteria can grow if the temperature drops below 140°F (60°C).
Do I need to stir the food while it cooks?
No. Stirring releases heat and interrupts the cooking process. Lift the lid only when necessary to add ingredients or check temperature. Frequent stirring can cause delicate foods to break apart and extends the total cooking time.
What size slow cooker do I need for a family of four?
A 6-quart slow cooker is the standard recommendation for families of 4-6 people. It allows enough room for the food to circulate heat properly without being overcrowded. A 3-quart model is suitable for singles or couples, while 8-quart models are ideal for large batches or meal prepping.
Can I put the ceramic insert in the dishwasher?
Most removable stoneware inserts are dishwasher safe, but check your manufacturer's instructions. Some older models or inserts with metal rims may require hand washing to prevent cracking or rusting. Always let the insert cool completely before washing to avoid thermal shock.
Why does my food taste watery?
This usually happens because too much liquid was added initially. Vegetables release their own moisture as they cook. To fix it, remove the lid for the last 30-60 minutes of cooking to allow some liquid to evaporate, or thicken the sauce with a slurry of cornstarch and cold water mixed in during the final stage.