Chicken Tenderization Planner
Select a tenderizing method below to generate precise instructions and measurements for your specific amount of chicken.
Wet Brining
Best for whole cuts & breastsVelveting
Silky texture for stir-friesAcid Marinade
Flavorful surface breakdownPhysical Pounding
Even thickness for quick cookWet Brining Calculator
Use salt water to ensure moist, juicy meat through osmosis.
Your Recipe Instructions:
Do not exceed this time or the texture may become spongy.
Have you ever taken a bite of restaurant chicken that practically melted in your mouth, only to come home and cook a dry, rubbery piece of meat? It’s frustrating. You buy the same cut, use similar spices, but the texture is worlds apart. The difference isn’t magic; it’s technique. Professional kitchens don’t just rely on fresh ingredients-they use specific chemical and physical processes to break down muscle fibers before the heat even touches the pan.
You can replicate that soft, succulent texture at home without expensive equipment. It comes down to understanding how proteins react to salt, acid, and alkaline substances. By mastering three core methods-brining, velveting, and proper temperature control-you will stop fighting against the natural toughness of poultry and start working with it. Here is exactly how to achieve that professional-level tenderness every single time.
The Science Behind Tough Chicken
To fix the problem, we first need to understand why chicken gets tough. Muscle tissue consists of long protein strands called actin and myosin. When you apply heat, these strands contract and squeeze out moisture. If you cook too fast or too hot, they tighten like a wrung-out towel, leaving you with dry, chewy meat. Additionally, connective tissues made of collagen need time and specific conditions to break down into gelatin, which provides that rich, soft mouthfeel.
Chicken Breast is the leanest cut of poultry, containing very little fat and connective tissue, making it highly prone to drying out if overcooked by even thirty seconds. In contrast, Chicken Thighs contain more intramuscular fat, giving them a forgiving nature and naturally softer texture. However, even thighs can become tough if cooked incorrectly. The goal is to relax the muscle fibers before cooking so they retain their water content.
Method 1: Wet Brining for Juiciness
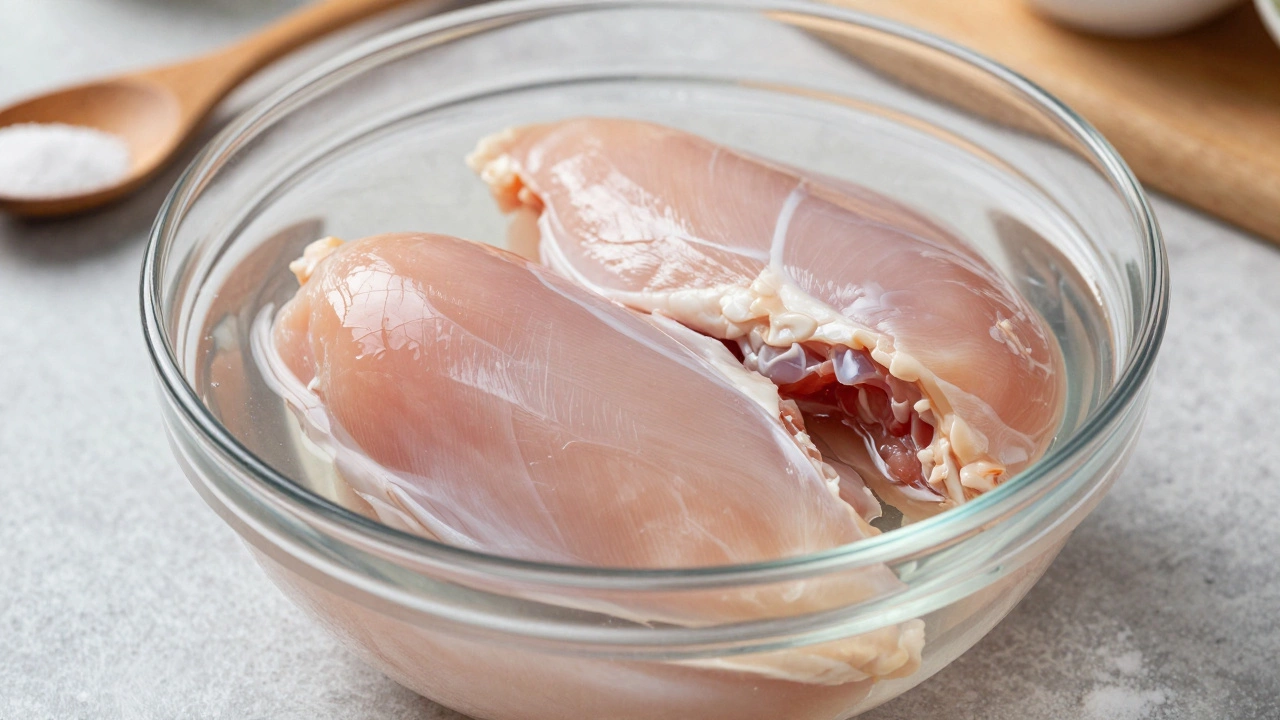
Brining is the most reliable way to ensure moist chicken. A wet brine is simply a solution of water and salt, sometimes with sugar. When you soak chicken in this mixture, two things happen due to osmosis and diffusion. First, the salt breaks down some of the muscle proteins, allowing them to unfold and hold onto more water. Second, the chicken absorbs some of the brine, adding internal moisture that won’t escape during cooking.
You don’t need hours for this process. For boneless, skinless breasts, a quick brine of 30 minutes to one hour is sufficient. Use a ratio of 1 tablespoon of kosher salt per cup of water. Submerge the chicken completely. Afterward, rinse the chicken under cold water to remove excess surface salt, then pat it dry thoroughly. This step is crucial because wet chicken steams instead of searing, preventing that golden-brown crust that signals a good meal.
- Ratio: 1 tablespoon kosher salt per 1 cup water.
- Time: 30-60 minutes for breasts; up to 4 hours for whole pieces.
- Tip: Add a tablespoon of sugar to balance flavors and aid browning.
Method 2: Velveting for Silk-Like Texture
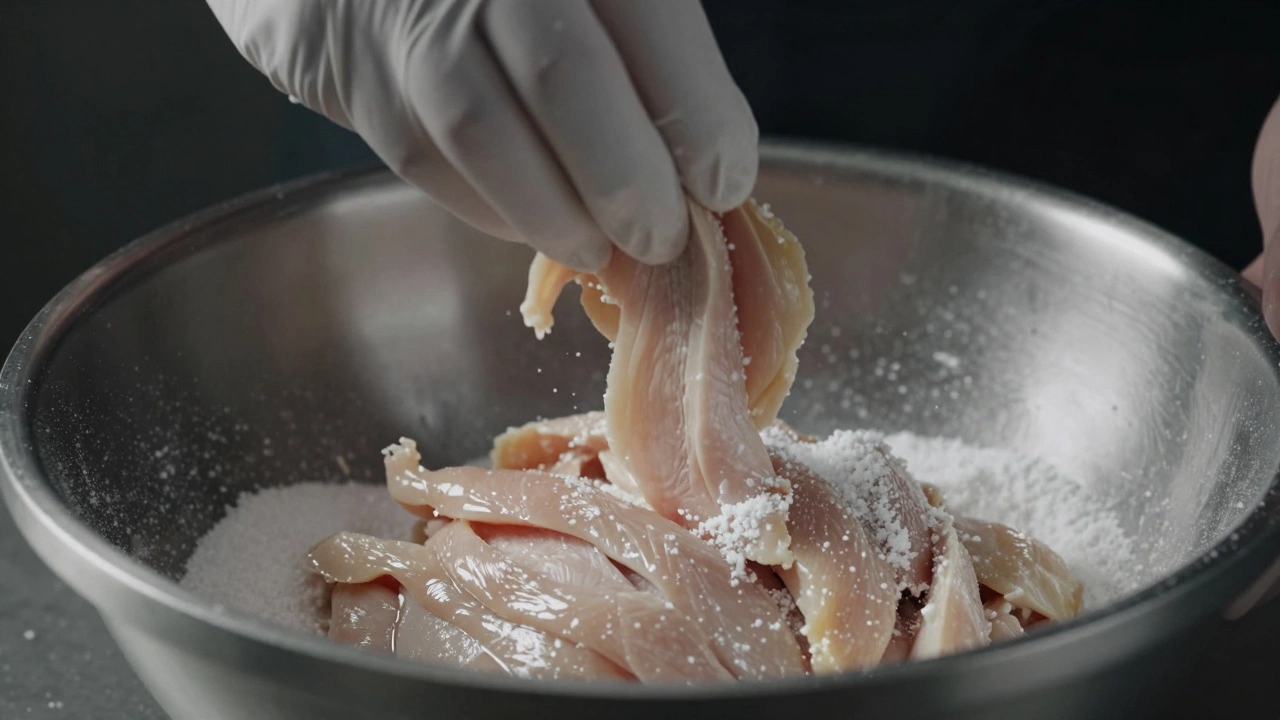
If you want chicken that feels slippery and incredibly soft, like what you find in high-end Asian stir-fries, you need to try velveting. This traditional Chinese technique involves marinating thin slices of meat in an alkaline solution, usually baking soda (sodium bicarbonate). The alkalinity raises the pH level of the meat’s surface, preventing the proteins from bonding tightly together when heated. The result is a tender, almost silky texture that resists drying out even under high heat.
This method works best for sliced chicken breast or thigh meat used in stir-fries. Slice the chicken thinly against the grain. Toss it with 1 teaspoon of baking soda per pound of chicken. Let it sit for 15 to 20 minutes. No longer, or the meat will develop a metallic taste and a spongy texture. After the wait, rinse the chicken thoroughly to wash away all traces of baking soda, then pat it dry. Some chefs also add cornstarch to the marinade after rinsing, which creates a protective barrier that locks in juices during the rapid cooking process.
| Method | Best For | Time Required | Texture Result |
|---|---|---|---|
| Wet Brining | Whole cuts, breasts, thighs | 30 mins - 4 hours | Juicy, plump, flavorful |
| Velveting (Baking Soda) | Sliced meat, stir-fries | 15 - 20 minutes | Silky, soft, resilient |
| Acid Marinades | Grilled pieces, tacos | 2 - 12 hours | Tenderized exterior, slightly firm interior |
| Pounding | Cutlets, sandwiches | 5 minutes | Even thickness, physically broken fibers |
Method 3: Acidic Marinades and Enzymes
Another common approach is using acidic ingredients like lemon juice, vinegar, yogurt, or buttermilk. Acids denature proteins on the surface of the meat, breaking down the structure. Yogurt and buttermilk are particularly effective because they contain both lactic acid and enzymes that gently tenderize without making the meat mushy, provided you don’t leave them on for too long.
Be cautious with strong acids like straight lemon juice or vinegar. If left for more than 2-3 hours, they can turn the outer layer of the chicken mealy and unpleasantly soft while the inside remains tough. Dairy-based marinades are safer for longer durations, up to 12 hours. They also add a creamy richness that complements herbs and spices beautifully. For those who prefer plant-based options, pineapple juice contains bromelain, a powerful enzyme that digests protein. Just remember: a little goes a long way. Ten minutes is enough; an hour will dissolve your dinner.
The Physical Approach: Pounding and Cutting
Sometimes chemistry isn’t enough; you need physics. Chicken breasts are uneven in shape, with one end thick and the other thin. If you cook them as-is, the thin part dries out before the thick part is safe to eat. Pounding the chicken to an even thickness ensures uniform cooking. Use a meat mallet or the bottom of a heavy skillet. Cover the chicken with plastic wrap to prevent splattering and protect the surface from tearing. Pound gently until the entire piece is about half an inch thick.
Cutting against the grain is another critical step, especially for sliced dishes. Look for the direction of the muscle fibers-the lines running through the meat. Slice perpendicular to these lines. This shortens the fibers, meaning you have less work to do when chewing. It’s a simple mechanical change that drastically improves perceived tenderness.
Cooking Techniques That Preserve Moisture
Even the best-prepared chicken can fail if cooked poorly. Heat management is the final piece of the puzzle. High heat is great for searing, creating a delicious crust via the Maillard reaction, but terrible for cooking the interior evenly. Many home cooks blast chicken on high heat, hoping for speed, but this forces the juices out rapidly.
Try the reverse sear method for thicker cuts. Start the chicken in a low oven (around 300°F or 150°C) until it reaches an internal temperature of about 150°F (65°C). Then, finish it in a screaming hot pan or grill for 30-60 seconds per side to get color. This gentle approach keeps the proteins relaxed until the very end. For stovetop cooking, consider sous-vide principles: poach the chicken in liquid held at a precise low temperature (165°F/74°C) for 45 minutes. The result is uniformly tender meat with no gray bands of overcooked protein near the surface.
Don’t forget resting. When chicken comes off the heat, the proteins are still contracted and holding moisture tightly. As it rests for 5-10 minutes, the fibers relax, and the juices redistribute throughout the meat. Cutting into it immediately releases those juices onto the cutting board, leaving you with dry bites. Patience here pays off instantly in flavor and texture.
Common Mistakes to Avoid
Avoid overcrowding the pan. When you pack too many pieces of chicken into a skillet, the temperature drops, and the meat steams in its own released juices rather than frying. This leads to soggy, pale, and tough results. Cook in batches if necessary to maintain high heat.
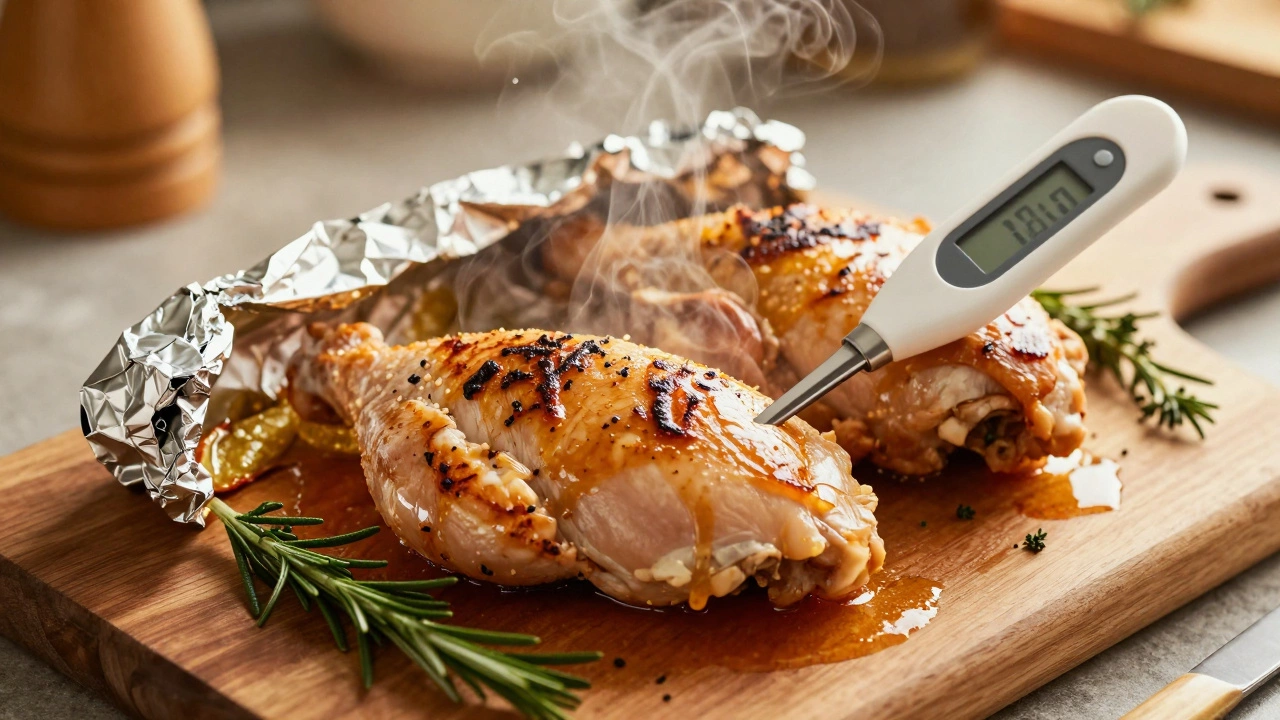
Also, resist the urge to pierce the chicken with a fork while checking for doneness. Every hole you make is a tunnel for precious juices to escape. Use a meat thermometer instead. Insert it into the thickest part of the meat. Pull the chicken when it hits 160°F (71°C); the residual heat will carry it to the safe 165°F (74°C) while resting, keeping it juicier than if you cooked it directly to 165°F.
Why does my chicken always turn out dry?
Dry chicken is usually caused by overcooking. Chicken breast has very little fat, so once the proteins tighten past 165°F, moisture is squeezed out. Using a meat thermometer and pulling the meat slightly early allows carryover cooking to finish the job without drying it out. Additionally, failing to brine or rest the meat contributes significantly to dryness.
Can I use baking soda on whole chicken breasts?
While possible, velveting with baking soda is best suited for thin slices used in stir-fries. On a whole thick breast, the baking soda may not penetrate deeply enough to affect the center, and rinsing it off thoroughly can be difficult, risking a soapy aftertaste. For whole cuts, wet brining is a more effective and safer method for achieving tenderness throughout.
How long should I brine chicken breasts?
For boneless, skinless chicken breasts, 30 to 60 minutes is ideal. Longer brining times can make the texture overly salty or spongy. For larger cuts like bone-in thighs or a whole bird, you can brine for 4 to 12 hours. Always adjust the salt concentration based on the size of the meat to avoid oversalting.
Is yogurt better than lemon juice for tenderizing?
Yogurt is generally gentler and safer for longer marination periods. Its lactic acid and enzymes break down proteins slowly, resulting in tender meat without the risk of turning the surface mushy. Lemon juice is stronger and can degrade the texture quickly if left on for more than a few hours, making it better for short-term marinades or finishing sauces.
What is the best temperature to cook chicken breast?
The USDA recommends cooking chicken to an internal temperature of 165°F (74°C). However, for maximum juiciness, many chefs pull the chicken at 160°F (71°C) and let it rest. During the 5-minute rest, the temperature rises to 165°F while the juices redistribute, ensuring the meat remains soft and moist rather than dry and stringy.